Users encounter QuickBooks error QBWC1039 when they try to add the same configuration files twice in the application. When the error happens, it displays an error message that is Error QBWC1039: There was a problem connecting the application. The article provide different solutions to fix the error, when you go through the page you will see that the solutions are presented in well ordered steps with real time images for better understanding. still having the issue contact us: +1-844-405-0904
Check QBWCLog.txt for details. Along with this error message, QuickBooks error QBWC1039 shows in different forms. These are:
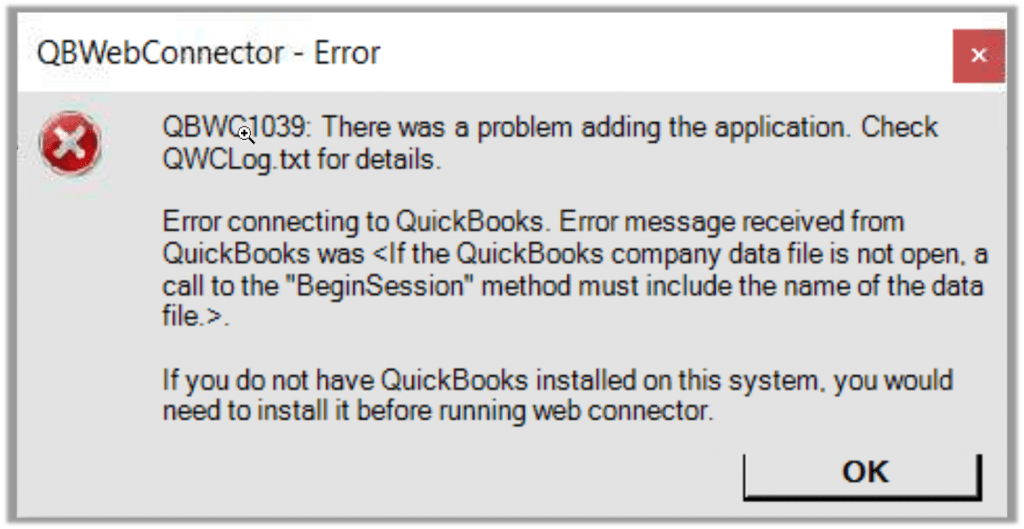
- Error QBWC1039: If the QuickBooks company data file is not open.
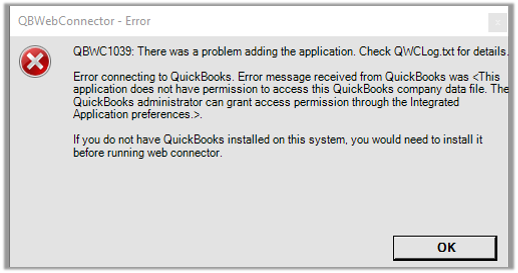
- Error QBWC1039: This application does not have permission to access the QuickBooks company data file.
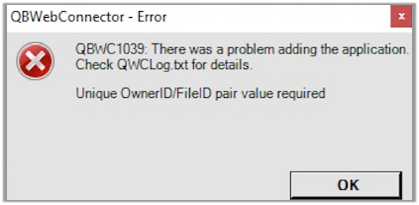
- Error QBWC1039: Unique OwnerID/FileID pair value required.
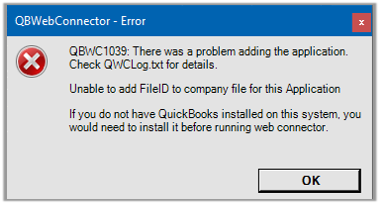
- Error QBWC1039: Unable to add FileID to company file for this Application.
You can face any of these errors mentioned above, so in this article, we will discuss the solutions separately for every error type.
Solutions To Fix Error QBWC1039
Error QBWC1039: If the QuickBooks company data file is not open
The main reason for the occurrence of this error is:
- When you rename your company file or moved it to another location, or when your company file does not compatible with the third-party app.
- It also happens when QuickBooks Web Connector is not configured to run when QuickBooks is closed.
How to fix this error
Follow these steps, If you renamed or moved your company file
- First, you need to rename the company file to the previous file name. To do this check out the below steps:
- At very first, back up your QuickBooks company file.
- Now, open QuickBooks, find the location of the company file.
- Go to the Home page, click on F2 or press and hold Ctrl+1 to initiate the Product Information window.
- Now, you need to note down the location listed in the File Information field.
- Next, follow the noted company file path location
- Go to the Windows Start button and right-click on it and click on File Explorer (Windows 10, 8.1, and 8) or Open Windows Explorer (Windows 7 and Vista).
- When you got your company file, right-click on it, and click on Rename. The filename might displays as [CompanyName].qbw or just [CompanyName].
- Now, change the file name and click on Enter.
- Click on Yes to confirm the action.
- If you moved your company file, then first create a backup of the company file, and then restore it back to the previous location.
After you are done, you’ll need to contact your app’s support team and ask them to update their file location to match yours.
If in case you have not already, then configure the Web Connector to run while QuickBooks is closed, to do this follow the below steps.
- First, you have to log in to your QuickBooks with admin credentials.
- If in case your QuickBooks is in Multi-user mode, then navigate to the File menu, then click on the Switch to Single-user Mode.
- Next, go to the Edit menu, and click on Preferences.
- Click on Integrated Applications, and next, click on the Company Preferences tab.
- Click on the third-party app and then, go to the Properties.
- Click on Allow this application to log in automatically.
- Next, go to the Authorization window, and click on YES.
- Click on User to log in, and then select OK.
Error QBWC1039: This application does not have permission to access the QuickBooks company data file
The main reason for this error, when the QuickBooks Administrator has not granted access to the third-party app.
How to fix this error
To perform the below steps, you must need to be QuickBooks Admin, If you are not an Admin, then you have to ask your QuickBooks Admin to follow the below steps.
- First, you have to log in to your QuickBooks with admin credentials.
- If in case your QuickBooks is in Multi-user mode, then navigate to the File menu, then click on the Switch to Single-user Mode.
- Next, go to the Edit menu, and click on Preferences.
- Click on Integrated Applications, and next, click on the Company Preferences tab.
- Now, here you have to uncheck the box for Don’t allow any applications to access this company file.
- Now, you have given the SDK App Authorization pop-up, click on Yes.
- Checkmark the third-party application to allow access.
- Click on OK.
Error QBWC1039: Unique OwnerID/FileID pair value required
The main cause of this error when your app is already on QuickBooks and you are trying to add it again.
How to fix this error
- Go to your QuickBooks Desktop and download the CP3 tool, and after installing click on Open.
- Click on Select File, now look for your QWC file. This will put the file in the Enter QBWC file Location. Then click on Open.
- Click on Remove Stamp.
- Now, you have got the QuickBooks Application Certificate pop-up, click on Yes and then click on continue.
- Go to the Access Confirmation window, and click on Done.
- Go with all the on-screen instructions, and then click on OK.
- Now, shortly you will receive a confirmation that the Owner ID has been removed. Now, click on OK.
- Now, you need to close the CP3 tool and can re-add your third-party app.
QBWC1039: Unable to add FileID to company file for this Application
The main cause of this error message, when you tried adding an app too many times. Keep in mind, the application must only be added once to one location.
Steps to add web connector
If you are having your .qwc file from your third-party web application, you can easily connect it to QuickBooks.
- Go to QuickBooks, and click on the File menu.
- Next, click on the Update Web Services.
- Next, go to the Web Connector window, and click to Add Application.
- Now, you need to browse to the .qwc file.
- Click on the .qwc file, and next, click on Open.
If in case you are getting any error after installing the web connector, then you can solve it by uninstall and reinstall it. To do this check out the below steps.
- Press and hold Windows+R keys on your keyboard to open the run box.
- Now, in the run box, type “control panel” and click on OK.
- Next, click on Uninstall a program.
- Click on Web Connector, then choose Uninstall. If you are not able to find QuickBooks Web Connector in the list of programs in the control panel, then it is advised to delete the QBWebconnector folder in these locations:
- C:\Program Files(x86)\Common Files\Intuit\QuickBooks\ or,
- C:\Program Files\Common Files\Intuit\QuickBooks\
Above, we have discussed the specific solution for the particular QuickBooks error message i.e. error QBWC1039. Hope, these solutions will work for you, if not then feel free to contact us on our toll-free+1-844-405-0904 and get instant technical help from our Intuit Certified ProAdvisors anytime soon.