In this article, we are going to show you how you can add customize or remove logos on sales forms like your invoices, estimates, or sales receipts inQuickBooks Online. It is very important to have a well-designed and representable logo as it represents the brand and personality of the company. In QuickBooks, you have a lot of options to customize and play around with the company’s logo. Here in this article, you will learn to add or remove logos on sales forms. Still having an issue, contact us on Toll-Free: +1-844-405-0904
For instance, you will be able to upload up to 10 logos for different sales forms in QuickBooks. This can help you to make your sales forms more distinctive than some others. Without delaying any more let’s discuss how to do it.
Things you need to do keep in mind about the Logo image
- The logo image should be any of the following formats .gif, .bmp, .png, .jpg, .jpe, or .jpeg file.
- The size of the logo image should be less than or equal to 10MB
- The color depth pf the logo should be 24-bits or less (in bit depth).
- The shape of the image should be square as a rectangle or circular shape won’t work.
- The color should be standard RGB.
NOTE: You need to convert your company’s logo color model to RGB if it is currently in CMKY before you upload it into QuickBooks Online. For this purpose, you can use tools like Adobe Photoshop.
Add logos in Sales Forms QuickBooks Online
- Go to the toolbar at the top of the screen and click on the Gear icon.
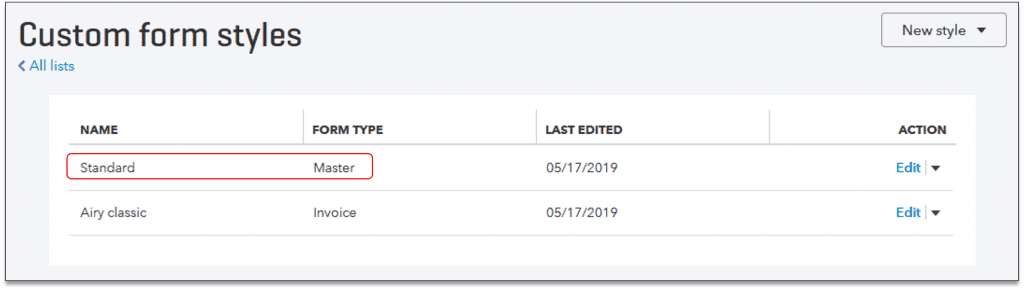
- Then, select the Custom Forms Style option under the company.
- Next, click on the New Style drop-down menu from the upper right corner, and from here choose the form where you want to use the logo.
- NOTE: You can also add a logo to the existing template. You just need to find that template and open it. From the Action column, choose the edit option to add a logo.
- For inserting the logo, select the Add your unique logo option from the Design tab.
- Checkmark the box stating the Add a logo + option and then again select the ‘+’ icon on the next window.
- Now, find the image logo that you want to use.
- Then, click on the Open and select Save as soon as uploading is completed.
Customize logos
You can also make changes to the logo after adding it such as size and placement. Let’s see how you can do it.
- Go to the toolbar at the top of the screen and click on the Gear icon.
- Then, select the Custom Forms Style option under the company.
- Here, you need to find the template in which you want to make the changes, and then under the Action column, select the Edit option.
- Choose the Make logos Edit option from the Design tab.
- Click on the Show Logo option. Here, you’ll be able to adjust the size and placement of the logo as you want. (NOTE: You can’t change the height and width of the logo)
- Select Done.
Remove logos from the Sales Tax forms or Templates
- Go to the toolbar at the top of the screen and click on the Gear icon.
- Then, select the Custom Forms Style option under the company.
- Here, you need to find the template in which you want to make the changes, and then under the Action column, select the Edit option.
- Choose the Make logos Edit option from the Design tab.
- Click on the Hide logo option and then select Done.
Common Issues related to the logos in QuickBooks
Can’t Upload the logo: If you’re not able to upload the logo then you should open the logo’s image in Microsoft Paint (or Preview or Mac) and then save the file in the .jpg format with a new file name.
NOTE: If QuickBooks is still indicating the message to remove the logo due to some problem in it but you know that the logo meets all the requirements then you can call QuickBooks support to troubleshoot this issue.
The logo is not OK: If something like the color depth of the logo or how the logo actually looks on the template then you can fix it by changing its format. If you changed the logo format then you have to use the Save as an option so that a new copy is created otherwise it will overwrite the original one.
Frequently Asked Questions
How to use logos for credit memos, purchase orders, or statements?
You can’t use a logo in any of these forms. These types of forms use the standard template which is the master sales form template. Depending on how you edited the master template the changes in the form will seem as same.
How to add some business information to the form to complement the Company’s logo?
If you useQuickBooks Online Plus for accounting then you’ll have an option to add thelocation tracking feature and in this, you can add the information related to the business such as the name and address of the company in the sales form. All of these will complement the logo of the company and make the sales forms more presentable.
STEP 1: Turn on Location Tracking
Follow the instructions mentioned below carefully to enable the location tracking feature in sales forms.
- Go to the toolbar at the top and then click on the Gear icon.
- Select the Accounts and Settings from under your company.
- Then, select the Advanced menu from the left-side menu panel.
- Go to the Categories section and to start editing, click on the Pencil icon.
- Now, put a checkmark in both boxes stating Track Classes and Track Locations.
- Then, click on Save and then Done.
STEP 2: Create Location Categories
- Go to the toolbar at the top and then click on the Gear icon.
- Under the lists section, select the All lists option.
- Next, you need to select a Location.
- Click on the New at the upper right corner of the screen.
- Then, you need to name the location and choose the appropriate checkboxes.
- After marking the checkboxes, a few additional fields will appear. You may be required to do some changes in those fields. All of these shows will appear on the forms.
- Select Save.
STEP 3: Create an Invoice, Estimate or Sales Receipt
- Go to the left-side navigational panel, click on the +New icon.
- Then under the Customer column, you can either select the invoice, estimate, or sales receipt as per your ease.
- If you have chosen the Invoice then complete the form and create an invoice in QuickBooks Online.
- On the right side, you’ll be able to see the Location option, click on it, and then choose an appropriate location from the list.
- Then, choose the Customize option at the bottom of the invoice screen and then select the template that you are willing to use.
- Select Save.
- By click on the Preview, you will be able to see how the form is going to look like after changes that you’ve done. You can print it later.
The Bottom Line
Now you know how to add, customize, or remove logos on the sales form in QuickBooks Online. Along with this, we have also discussed how you can customize the logos for the sales form so that they look more professional on the invoices, estimates, etc. If you are having any problem with adding the logo then you can contact our team of QuickBooks ProAdvisors by calling at 24/7 toll-free customer support number +1-844-405-0904.