Looking for an article on how to make and view adjusting journal entries in QuickBooks? Then your search is complete, here we are with an article to provide you a guide that tells you all the steps to perform this task. As we know QuickBooks is traditional accounting software that allows its users to record and see their business transactions. However, accounting transactions can get entered into an accounting system, and in this situation, you may require to make and view adjusting journal entries in QuickBooks. For More Info. contact us on:+1-844-405-0904
If the transaction was to be split into two separate general ledger accounts, you would have to change your original transaction. In this post, we will discuss how to make and view adjusting journal entries in QuickBooks.
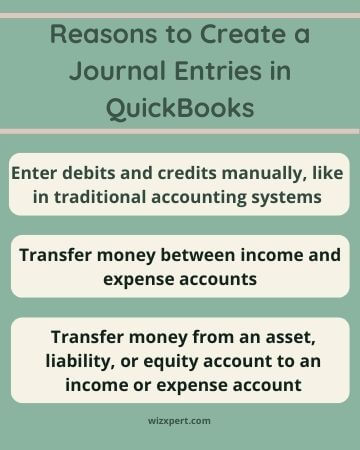
Main Reasons to Create and View Adjusted Journal Entries
- To book the depreciation or amortization.
- Cancellation of charges for outstanding property or expenses.
- To adjust the tax payable for interest, discounts, or fines.
- To enter the bank or credit card fees or interest.
Note: You can also see adjusting journal entries in particular reports, and customize other reports to identify adjusting journal entries.
Steps to Make an Adjusting Journal Entry
- Go to the Toolbar and look for your customer company from the dropdown list of Go to the client’s QuickBooks.
- Click on the + New.
- Later click on Journal Entry.
- Check the option, Is Adjusting Journal Entry? checkbox.
- Go through all the steps to create the journal entry.
- At last click on the Save and close.
Steps to View Adjusting Journal Entries in Reports
In the following reports, you can only view adjusting Journal entries in QuickBooks.
- Adjusting Journal Entries
- Adjusted Trial Balance
If you want then you can customize the following reports by turning ON an Adj column:
- Journal (accountant users by default view the Adj column)
- Transaction Detail by Account (accountant users by default view the Adj column)
- Transaction List by Date
- Transaction List with Splits
- Recent Transactions
- General Ledger
Steps To Review a Report
- Click on Reports from the left menu.
- Now, go to the Accountant Reports tab or insert the name of the report in the Search bar.
- Click on the report to see from the results.
- If you want to add the Adj column to the report then click on Customize, and later Rows/Columns segment, click on the Change columns item.
- Click on the checkbox for the Adj. column to add it to the report.
- Choose to Run report.
Hope, this article will be helpful to you to make and view adjusting journal entries. But if you still have any issues or queries regarding the same topic then feel free to contact our Intuit-certified ProAdvisor +1-844-405-0904 for instant help with your query. Our expert team of ProAdvisors is always available with the assistance of our customers. You can contact us at any point in time, we are available 24*7.