Are you Looking For QuickBooks Enterprise advance reporting templates? Get ready to catch it, here we are with an article to give you the details about this topic. In this you will learn to get started, steps to install it, and sync the license data. All the information you need here is provided for you, go and access the information to perform the task, once go through the whole article, install and sync QuickBooks enterprise advance reporting templates. Still facing the problem, contact us +1-844-405-0904
QuickBooks Desktop Enterprise Advanced Reporting is a powerful tool in which you can run to solve the most critical and complex business reports with great ease. In this article, you will get a clear idea regarding template reporting in QuickBooks Enterprise with enhanced searching and filtering fields and much more advanced reporting that shows you untapped insights on how your business is running. Using this you can run your most critical and complex business reports with great ease.
Some of the great features are mentioned below:
- Put your required information & data at your fingertips.
- Custom templates for the different sectors of business like wholesale, retail, contractor, manufacturing enable you to find the right report fast.
- All the bundled templates are auto-filled with your company data.
Get Started With QuickBooks Enterprise Advanced Reporting Templates
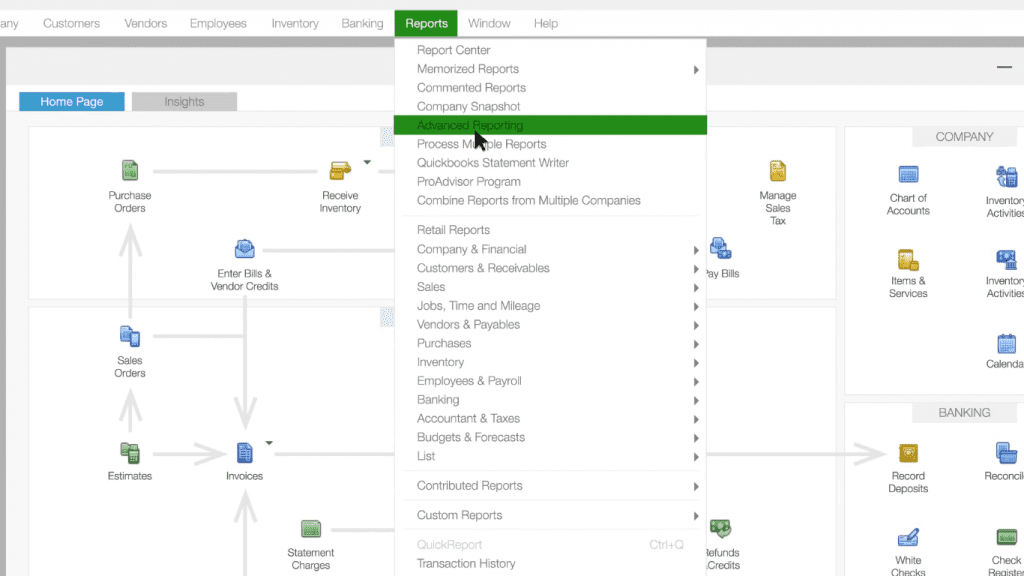
Click on the reports menu then advanced reporting. A progress bar will show you all of your QuickBooks company file data being pulled into advanced reporting. And also turned into tables which are essentially chunks of data that link to one another. When your data is all set. You will land on the Welcome tothe advanced reporting page. A good first step to getting familiar with advanced reporting is to run a start a report using one of our report templates.
Just click on the report list and select Starter Reports. All of your reports are listed here. Select they are aging dashboard and click open. Sit tight while the data loads to create the report. The way our aging dashboard has a good variety of objects to work with which will allow you to orient yourself in advance reporting. You can customize any of the objects in this report by right-clicking them and selecting properties.
Now that you have your first start a report. You can browse your other reports to see exactly how all of your QuickBooks company data is connected. Be sure to watch our other videos. To learn how to customize objects in your starter reports and when you’re ready. We’ll show you how to run your own custom reports.
Install and Use QuickBooks Advanced Reporting
QuickBooks Advanced Reporting allows you to create interactive reports and use your QuickBooks data to get better insights into your business. This feature is covered with your QuickBooks Enterprise full-service plan and operates with QuickBooks Enterprise 2017 and higher.
Steps to Install QB Advanced Reporting
If your QB Enterprise is hosted by Third-Party
You need to contact your hosting service and ask to perform the following steps if your QuickBooks Enterprise is hosted by a third party like Right-Network.
Step 1: Update QuickBooks Enterprise to the latest version
- Open Downloads & Updates page.
- Select your QuickBooks product from the product drop-down,.
- Select the appropriate version or year, from the Select Version drop-down
- Click on Search.
- Click on the Get the latest updates, later Save File to get the update.
- Double-click to install the update, when the download finishes,. You might need to restart Windows after the installation ends.
Step 2: Sync your license data online
- Start QB and go to the Help menu and choose to Manage My License later look for Sync Data License Online and click on it.
Step 3: Start the installation and extract the report data
- In QuickBooks, look for the QuickBooks Reports menu option and click on it and choose to Advanced Reporting.
If your QuickBooks Enterprise is not Hosted
Note: QBAR installation can only be done by Admin user of Windows system
- First, you need to log in with admin rights in Windows system.
- Update the QuickBooks Enterprise to the latest version.
- Open the Downloads & Updates page.
- Select your QuickBooks product from the Product drop-down option.
- Select the appropriate version or year from the Version drop-down option.
- Click on Select
- Click on the Get the latest updates, later Save File to get the update.
- Double-click to install the update, when the download finishes,. You might need to restart Windows after the installation ends.
- Start QB and go to the Help menu and choose to Manage My License later look for sync data license online and click on it.
- In QuickBooks, look for the QuickBooks Reports menu option and click on it and choose to Advanced Reporting.
Error and Feasible Issues
Error 1: QuickBooks Advanced Reporting cannot open
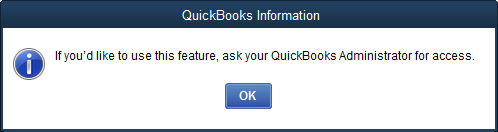
First, you have to log in as a QuickBooks administrator or you can also ask your QB administrator to edit your role to get access to QB advanced reporting if you receive the following error to access QBAR
Steps to give a user role access to QuickBooks Advanced Reporting
- Login to your QuickBooks with Admin credentials.
- Later, select the Company menu and choose Users then click on Set Up Users and Roles.
- Choose the current role and after Edit or New (whichever is relevant according to you).
- Open File then QuickBooks Advanced Reporting, under Roll Access, Area and Activities, and choose OK.
Error 2: Sorry! Advanced Reporting couldn’t update your report. Please try again.
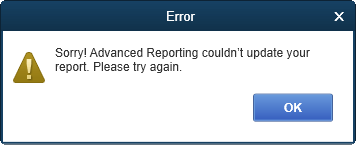
If you are trying to update Advanced Reporting with the latest data from your QuickBooks company file and you receive this error, update your QuickBooks to the latest release:
- First check the company file path or file name, remove any parentheses, brackets, or apostrophes, if any rename the folder or file, then later to reopen the company file and also run Advanced Reporting.
- Edit the date format, follow this standard format: MM/DD/YYY.
- Verify and be sure that QVConnect32.exe is not blocked by any anti-virus program that is installed on your computer. If it blocks then you need to add an exception for the QlikView connector to the real-time scan of the AVP.
The file location of QVConnect32.exe
- For Windows 10/8.1 and 8.0: C:\Users\username\AppData\Local\Microsoft\Windows\INetCache\QVConnect\11.20.12235.0
- For Windows 7: C:\Users\username\AppData\Local\Microsoft\Windows\Temporary Internet Files\\QVConnect\11.20.12235.
Note: here 11.20.12235.0 vary, it depends on your version number.
We have tried our best to provide information in this article regarding the QuickBooks Enterprise advanced reporting templates. Hope you like it. Still, if you have any doubts or queries about this? You can always get the right advice or guidance for all your problems with our Intuit-certified experts. To address various report failures, issues, problems; we have set up our technical support team. Reach them or drop a call to us through the toll-free number +1-844-405-0904 for the best QuickBooks Enterprise support.