If you have faced Reconciliation Discrepancy in QuickBooks, and want an immediate solution to resolve the error, Then this article is here for you. Read this article carefully, so as to understand how to resolve and fix QuickBooks reconciliation discrepancies. Go through the complete article and get solutions in simple steps, learn to troubleshoot the issue. For any suggestion or help contact our Quickbooks ProAdvisor toll-free: +1-844-405-0904
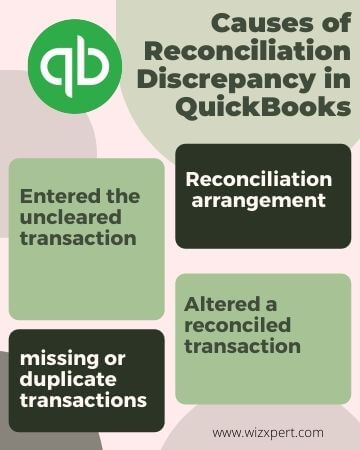
QuickBooks Reconciliation Discrepancy occurs by the reconciliation adjustments such as QuickBooks Journal entry or previously reconciled transactions that have been changed, added, or deleted, etc.
Steps How to Fix a Reconciliation Discrepancy in QuickBooks:
If you are encountering a discrepancy problem it may be due to an error given above. If at first, the actual cause is not known, then you have to try both methods to see what works.
Modified Previously Reconciled Entries:
Your accounting balance will affect if you have made any changes to your already reconciled transactions. If you feel like this is the reason your accounts are not matching, then you have to run 3 different types of reports to find out any discrepancies.
- Reconciliation Discrepancy report,
- Missing check report,
- Detailed entry report.
Reconciliation Discrepancy Report:
This report is basically tracks all your accounting entries and sorts them by date, noting the most recent changes at the top. Run the report and you will find any recent changes that have caused the reconciliation error. Following are the steps to run a reconciliation discrepancy report in QuickBooks:
- Open QuickBooks and go to the top navigation bar, and click on the Reports tab.
- Later, go to the drop-down list, and click on the Bank tab.
- Now, look for the reconciliation discrepancy button and click on it.
- Select the account for that you need to run a discrepancy report.
- Wait here to processes your report.
- Now, after processing, open the report and look out for any discrepancy.
Missing Check Report:
This report will guide give you to any information. Regarding any entry, you may miss. You can run a missing check report in the same way as a reconciliation discrepancy report.
- First, go to the Reports tab on the top corner panel.
- Next, go to the bankings tab, and click on the missing check
- Select the account for that you need to run a discrepancy report.
- Click on Ok and Check out for any entries that you have missed in your books, but are being deposited in your bank.
Detailed Entry Report:
With a detailed entry report, you can each and every entry and locate any changes made:
- First, you need to go to the reports section of your QuickBooks dashboard.
- Now, click on the custom report tab from the drop-down list.
- Later, go to the detailed entry report.
- Click on the date range for which you need to check the reconciliation report.
- Click on the account and generate a filter if required.
- At last, click on Ok, and run the report.
After Running the above reports you will be most probably able to know “How to fix a reconciliation discrepancy in QuickBooks”. now you can fix the issue by yourself or also get technical help from our QuickBooks expert.
Forcefully Adjusted Entry:
If after running the above report you are still unable to fix your problem, check for any reconciliation adjustments made in the past. For this:
- Go to the QuickBooks dashboard, and click on the COA
- Later, click on reconciliation discrepancy
- Now, you can run the report and look for any suspicious entry.
- If you have noticed nothing wrong, then you need to undo any changes made recently until you see a matching and correct balance.
We hope, the article would help you to fix the reconciliation issues. If you need further assistance dial our toll-free [Quickbooks] and get in touch with our technical support team.