Mistake are commonly made while you are trying to record all the transaction data of your organization using the QuickBooks Online software. It really creates a problem for your organization while calculating the tax report or visualizing the organization’s financial condition. So you need to batch reclassify transactions in QuickBooks Online software to get proper details about the organization’s working process. If you don’t have any idea about the process, then you have reached the right place.
In this blog, you will find all the information about the procedure to batch reclassify transactions in QuickBooks Online and how to do it manually.
What is a Reclassify Transaction in QuickBooks Online?

Batch reclassify transactions in QuickBooks Online means moving the transaction details from their original account to another accounting account without making any changes in other data so that the transaction data can be kept in a proper order in a record and it can be easily accessed. It also helps your accounting team to create an accurate financial report. After the reclassification of the transaction data in the record, it will help you to get a proper view of the organization’s working conditions and its position in the market.
A manager can read this report and make an important decision for the business to enhance the work process.
Why do you need to Batch Reclassify Transactions in QuickBooks Online?
If you have unknowingly made a mistake while classifying the bank transaction data, it will affect the organization’s name and reputation. It mainly hurts the organization’s financial report, which is required to create a tax report. Really, batch reclassify transactions in QuickBooks Online is necessary to save your organization from problems like:
- While entering the transaction data, you have wrongly entered the details in another category, which will create a problem in the future.
- New data is updated in the record; you have to properly see if the new data is kept in the right category of the record.
- An accurate and updated record is essential for the business to create a proper financial and tax report to prevent penalties.
- You have to maintain an accurate category of your organization’s transaction data so that you can get a proper and easily understandable financial statement for your business.
- If you are deciding to take a loan from the bank or searching for an investor, then you have to keep your transaction records properly arranged to attract customers.
How to Use Batch Reclassify Transactions in QuickBooks Online?

You can use an advanced QBO tool to batch reclassify transactions in QuickBooks Online, which will modify the transaction data that is present in the OB record. Let’s know the steps to batch reclassify in QuickBooks Online software.
QuickBooks Online Account
- Sign in to your QB Online application.
- Click on the QBO company option.
- Properly search and select the “Accountant Tool”.
- Then you have to press the “Reclassify the Transaction” option present there.
QuickBooks Online Advanced Tool
- Sign in your QuickBooks Online account.
- Press the settings option that is present in the home screen of the application.
- There, you have to click the reclassify the transaction option.
- Then you have to choose a particular report that you want to reclassify the transaction details for.
- Choose a perfect account where you want to store the reclassified data.
- Then click on the reclassify option.
You have to properly follow the above steps of reclassifying transactions in QuickBooks Online to prevent any errors during the procedure.
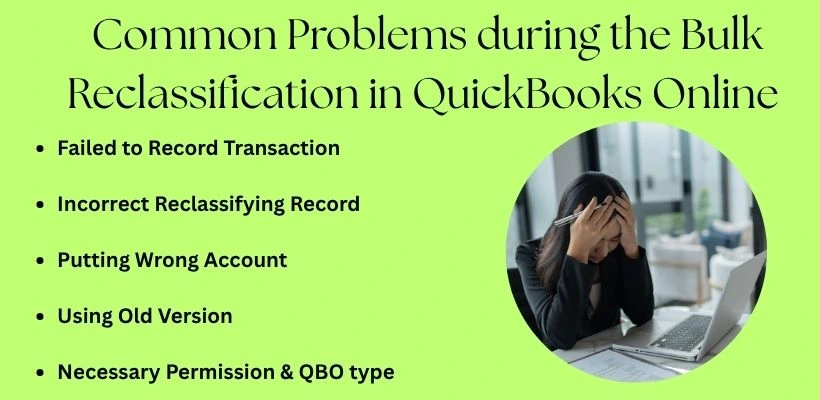
Common Problems during the Bulk Reclassification in QuickBooks Online
The method to batch reclassify transactions in QuickBooks Online faces some common errors that really create a problem during the reclassification process of the transaction record. Some of those common problems are:
Failed to Record Transaction
Sometimes the QuickBooks Online software failed to collect all the transaction records in the QB report. This will create a problem while matching of accounting statement with the bank record. It also affects your reclassification method.
Incorrect Reclassifying Record
Because of the incorrect reclassification of data by the accounting software. Create a problem in the balance sheet and get the profit or loss statement of the organization.
Putting Wrong Account
During the reclassifying process, you mentioned an account to store the reclassified data, but all the transaction data will be stored in another account. This creates a problem for the user to search for the data.
Using Old Version
You might face a problem during the reclassification, like not working or the device not supporting it. Mainly, this type of error occurs when you are not using the updated version of the QuickBooks Online software.
Necessary Permission & QBO Type
If you are not giving all the necessary permissions to the QBO software, then the reclassify in QuickBooks Online will not work. It also requires QuickBooks Online and QuickBooks Online Advanced software, then it can run the reclassification method properly in your system.
Conclusion
The method to batch reclassify transactions in QuickBooks Online is really very helpful for the organization if you have made any type of wrong entry in the record. Properly follow all the steps to prevent any errors during the reclassification method in your QuickBooks Online system. If you have any doubts related to the batch reclassify transactions in QuickBooks Online method, then you can talk to our QuickBooks experts for help.