In today’s accounting world, sometimes you may receive the inventory from your suppliers before getting the bill. You can easily receive inventory without bill QuickBooks Online by keeping your stock levels accurate without entering a bill to record the item. Because it is one of the best tools to run a small business. Through this, you can quickly track what you’ve received and what you’ve owed later. In this blog, we’ll guide you through the complete method of how you can manage and QuickBooks Online receive inventory without a bill.
What is an Inventory in QuickBooks Online?
In QuickBooks Online, a product that is brought by a business to sell to customers is known as inventory. It tracks and keeps a record of those items that you’ve in stock, their cost, and their sale value. QuickBooks started to record it as an asset when you buy inventory. When you sell them, the system automatically calculates the cost of goods sold (COGS), updates the level of your stocks, and records your profit.
With the help of this, you can easily keep the data or know what’s in stock, avoid overbuying, and see the earnings that you’re making from each product. It is also one type of essential tool that helps your business to sell some physical goods.
What is a Bill in QuickBooks Online?
In QuickBooks Online, a bill is one type of record that keeps the transaction details of your business, showing the amount owed to a supplier or vendor for goods or services received but not yet paid. With this, you can easily track the expenses and manage payable accounts. When the bill starts being entered, QuickBooks also records the amount of money you owe. Automatically, the system updates your record when you complete the payment. The vendor’s name, due date, amount, and items purchased are details that are usually included in bills.
You can avoid the missed payments and stay organized by using the bills to help in QuickBooks. And also, you can view the details clearly of what you owed at that time during business.
Why You Might Receive Inventory Without Bill QuickBooks Online?
When the goods arrive before the supplier sends the invoice, you might receive inventory without bill QuickBooks Online. If the supplier ships items quickly, this could happen, but the process is later. If the paperwork isn’t ready, it makes you sure that you will get the product on time. Sometimes, due to system issues, end-of-month processing, or verification checks, delays in invoicing occurred.
In such cases, the cost is not entered in the accounts until the bill arrives, for which the inventory is recorded as received. While waiting for the official invoice, this helps businesses to keep accurate records of stock to confirm their amount due.
How to Receive Inventory without bill QuickBooks Online properly?
To receive the inventory properly without a bill in QuickBooks Online, you have to follow these steps with a clear and simple explanation, as mentioned in the following ways:
What it means
- When the supplier arrived at your business, you got the product from them.
- From the supplier, you still haven’t received the bill/invoice.
- Without keeping a record of money owed, you want to record those items that are now available in your stock.
Why did you do this
- Because you can easily use and sell the items right away to keep your stock count correct.
- Before recording, to know the amount that how much you owe, just wait for the vendor’s bill.
Now, we’ll begin the step-by-step process or method of “receive inventory without bill QuickBooks Online”, as in the following ways:
1. Create a Purchase Order (optional but recommended)
- Click on the ”+ New” option.
- Then, go to the purchase order tab.
- Choose and mark the “Vendor” or the Supplier.
- Add the quantities of the items that you have ordered.
- Click on the Save option to make the purchase order permanent.
- You can attach the link or connect both the receipt and the bill with each other later with the help of this.
2. Receive the inventory (no bill yet)
- Click on the “+ New” icon button to receive inventory without a bill. If you are using a PO, this option may appear as “Copy from PO”.
- Select the same Vendor from the list.
- Choose the PO. If you have already created a PO, then the items will automatically be filled by QuickBooks.
- Add the amount that you have received.
- Then, click the option to save the receipt.
- These things are done because QuickBooks now knows about the stocks that you’ve more of on hand, as well as the increase in inventory quantities. However, Bill has not yet created any payable accounts.
3. When the bill arrives
- Click on the “+ New” icon button, then press the Bill option.
- Select the same Vendor as the above.
- Select the PO or items to make them connected with the receipts through QuickBooks.
- Before saving them permanently, check or review the quantities and prices.
- Then, in the last click the Save option and make them permanent.
- Now QuickBooks will link the payable that you owe from the vendor and create a receivable for your inventory.
What happens Behind the Scenes
When you receive inventory without bill QuickBooks Online:
- The balance sheet of inventory assets will go up.
- Yet the money hasn’t been owed.
When you Enter the Bill Later
- The liability of payable accounts goes up.
- There are no changes in inventory; it stays the same as before.
Tips for doing it properly
- To keep your records neat, always link your receipts and bills to the same PO.
- To find any received items that don’t have a bill yet, use reports to purchase them by item details.
- For proof, attach your packing slips or delivery notes to the receipt.
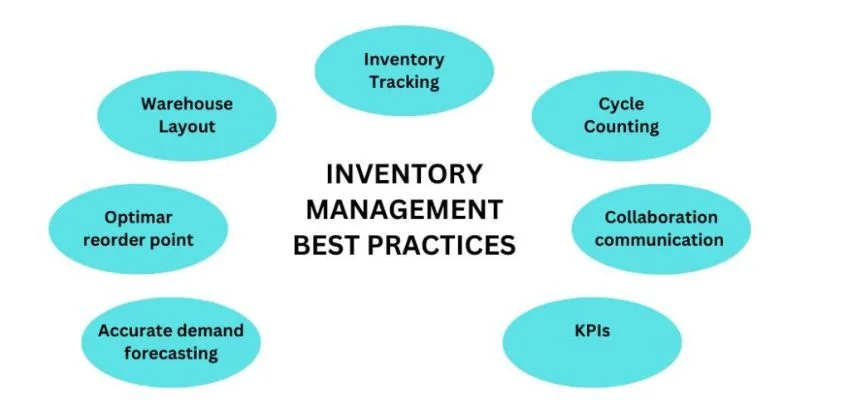
Best Practices for Managing Inventory without Bills
Here are some simple and clear explanations of the best practices for managing the receive inventory without bill QuickBooks Online, which means you can easily keep tracking the stocks even if you don’t have any purchase or sales bills to be recorded. Let’s begin with the following steps:
Keep a Stock Register
- Maintain a spreadsheet where you can keep a record of items that you buy, sell, or use.
- Daily update and note the items, like name, quantity, date, and purpose.
- For Example, if you have 100 pens and you used 20 of them, then you’ll note both of them too to keep a record.
Use Stock Codes or Labels
- Give a unique code or a label to each product, like PEN0021 or LOAD100KG.
- The items can be counted and identified easily with the help of this process.
Do Regular Physical Counts
- To confirm what’s actually there, count your stocks weekly or monthly by physically.
- To find or spot any missing extra items, compare them with your records.
Record All Stock Movements
- Keep a record of your purchases, returns, samples, sales, damage, or usage, when stock comes in or goes out, even without bills.
- You can trace every movement by taking the help of this.
Reconcile with Bills Later
- Match all the bills with your stock records when they arrive.
- Make any adjustments between recorded and billed quantities.
Track Damaged or Lost Items
- Create a separate note or a column for lost, damaged, or expired stock.
- During inventory checks, you can prevent this confusion with this.
Set Minimum Stock Levels
- Make sure the minimum quantity of each item that you should always have.
- It’s the time to keep a record while the stock goes down.
Conclusion
In conclusion, we have discussed everything in the above with a brief explanation that you need to know about “receive inventory without bill QuickBooks Online”, which will help to maintain your work smoothly. You have understood this topic and become very helpful and resourceful. If you have any queries on this topic, you may contact our tech support with QuickBooks assistance to receive their expert service.